The content in this guide is currently being revised to align with the new user interface. Some text and images may be outdated.
Navigating The Client Portal
Get on-demand access to your project, issue, retainer, and account information, offering real-time updates on active work, letting you share files and send emails, view and pay invoices, and more.
This guide is for anyone who has received an invitation link to a Client Portal.
Using the guide, you can:
- View your Profile
- Change your Password
- Invite your Peers
- See your User Directory
- Make a Request
- Approve Signoffs
- Track Progress
- Create an Activity
- Securely share Files and Attachments
- See Billing History and Pay Online
- Log out of your Portal
Welcome to your Client Portal!
You should have received an email link letting you instantly log in to your Client Portal profile.
After logging into the Client Portal, your Home screen provides you with a feed of recent activity, and on the right, additional items that may be of interest to you.
If you are looking for a certain menu item - such as Projects, Issues or Invoices - and are unable to see it, please contact one of the representatives who invited you or your team to the Portal.
Viewing your Profile
Your profile houses all of your contact, business, and personal information. You can edit this information at any time directly from the Client Portal.
To view and edit details of your personal Profile:
-
Clicking on your User Icon, a menu will be displayed.
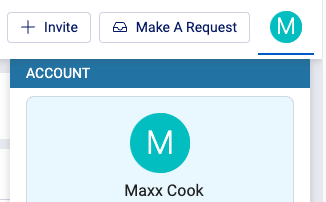
-
Click on the first option on the list, Profile.
-
This will take you to your user profile. From there, you can edit your personal and business details by clicking on the field. If you would like to add a user icon, you can log in with a Gravatar account if you have one.

To view and edit details of your Client Profile:
-
Clicking on your user icon, a menu will be displayed.
-
Click on the first option on the list, Profile.
-
Then, choose the first option in the Configuration Menu, Company Profile.

-
From there, you can edit your business details, including your website, phone, and fax.
Change Password
To change your password:
- From user profile page, simply click the Change Password button and fill in the details.
Invite your Peers
Anyone you invite will receive a special invitation link that gives them access to their own account in your portal. Keep your co-workers and other relevant parties up to date with work completed on your account.
To grant access to other users:
-
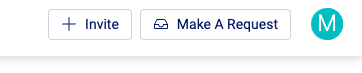
Use the Invite + button displayed in the navigation bar by your User Profile Icon.
-
Alternatively, you can invite coworkers by clicking your User icon and selecting Invite Others.

User Directory
Your user directory displays all users that have been given access to this client portal. You can access this by clicking on your User icon and selecting Directory.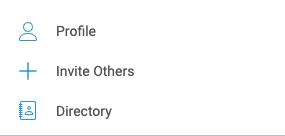
Make a Request
Email your questions directly back to the company without needing to open any other programs. If you have a question or want an update on a task, simply click Make a Request. It is the equivalent of emailing support directly.
To make a request, click the Make a Request button on the navigation bar next to your user icon. Click this to open a pop-up that will allow you to send a request to the organisation who invited you to the portal.

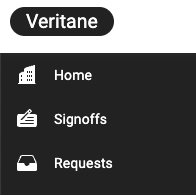
Keep track of the requests that you have submitted by clicking Requests on the menu bar on the left hand side of the screen. 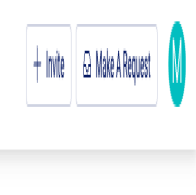
You will see a list of all submitted Requests for everyone who has permission for this Client Portal. To see specific details of the Request, click on the Request Title.
Approve Signoffs
Anything that you need to approve, such as a proposal or design mockup, can be done through your Client Portal. The signoffs module will make it easy for you to give feedback or approve work with the click of a button. Easily download files or attachments to approve and send signoffs or comments.
To approve, deny or leave a comment on a Signoff request:
-
From the Client Portal, click the Signoffs button in the menu bar on left hand side of the screen.
-
You will be taken to a Signoff Request List you have been sent, including details on what the Signoff is related to and when it was sent.
-
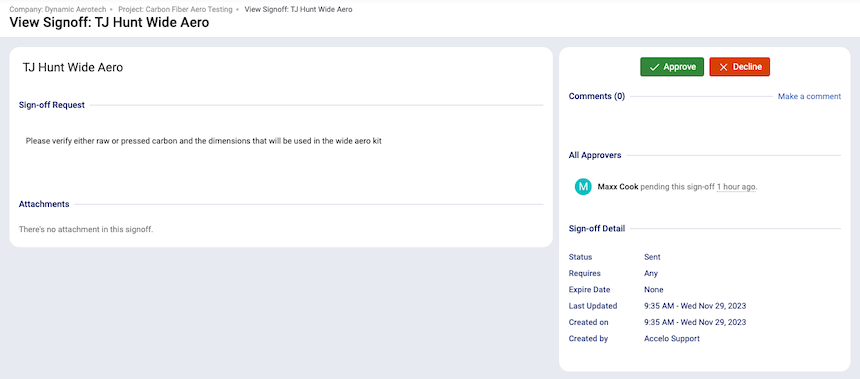
To view a specific Signoff Request, click on the name. The View Signoff page includes all details, attachments, approvers, and any sign-off details.
-
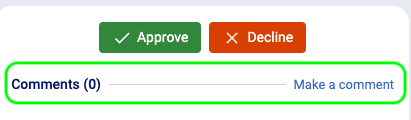
To add a comment, click on the link named Make a Comment.
-
To approve the signoff, click the Approve button. If you are unsatisfied with the nature of the Signoff, you can click Decline.

Track Progress
Easily track all ongoing work on open requests, sales quotes, projects, tickets, and retainers. To see the progress of ongoing work, click on the name in the Menu Bar.
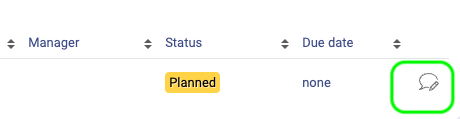
For instance, if you want to see an update on an ongoing project, click on Project. When you click on Project, you will see a Project List of all open projects, including the Title, Manager, Status, and Due Date. To see more details of the Project, click on the Title Name.
Once you are viewing the Project, you can see details of the work completed against the Project. Take your time to look through each tab to see what is included, including Budget & Work, Attachments, Invoices, Signoffs, etc.
If you want to leave a note about this specific Object, click on the create a note button and select Create a Note. By sending a note, the manager of the project will be notified via email, boosting collaboration and transparency.
Create An Activity
Create activities directly from you Client Portal, helping you communicate directly and stay on top of all ongoing work.
When you view any ongoing work - such as a Project, Issue/Ticket, Sale, or Retainer - you will see an option to add a New Activity. Creating an activity will notify the assignee/manager of your comments, allowing you to keep all your correspondence tied directly to the ongoing work.
To create an activity:
-
Alternatively, while viewing the Project itself, select the New Activity button.
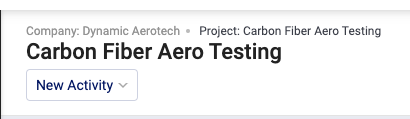
- This will open a pop up box where you can enter the note details.
Securely Share Files & Attachments
You can easily add an attachment directly to any ongoing work under the Attachments tab. This is perfect for situations where you need to upload revisions or large documents that are a pain to email - now they can stay inside your portal. To add a file, you must be on the screen viewing the project, issue, request, etc. that you want to add an attachment against. Once there, click on the Attachments tab, and you will see the option to Attach File.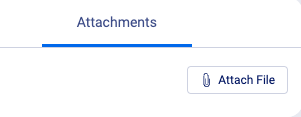
Once you add an attachment it will be automatically stored to the sale, project, issue, etc and the manager will be notified that a new file has been uploaded.
See billing histories & pay online
See your billing history, outstanding invoices & even pay your account online.
To see your billing history, click the Invoices tab on the menu bar.
You will see a list of all Invoices Raised for your ongoing work. To see all details of the invoice, click on the Invoice Subject.
If the company has enabled submitting payments, you will see a payment button.
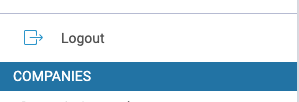
Logging Out
To logout of your account, click your user icon and click on the Logout option.